

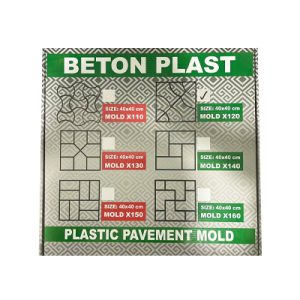
MOLD X120
Plastic molds of concrete paving model MOULD X110 have a repeatability factor and can be used high and if properly maintained the respected executors can use it as a permanent working tool.
Description
MOLD X120
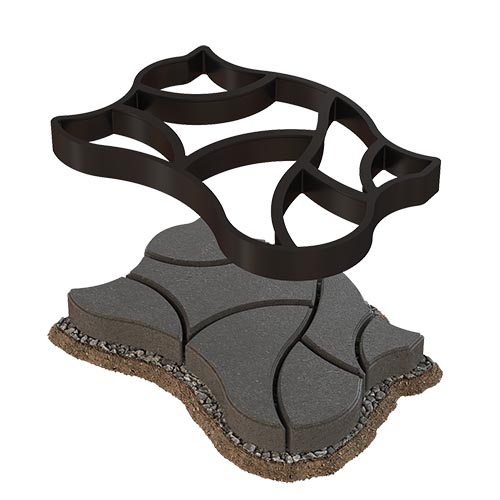
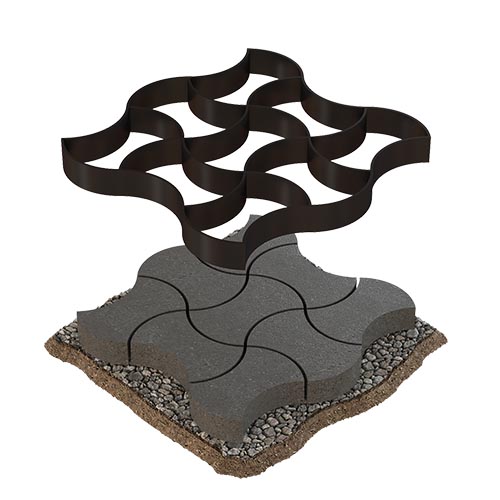
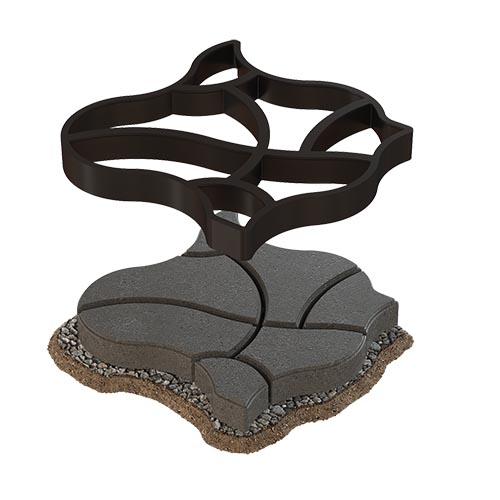
The MOLD X120 concrete paving mold is a square stencil with a unique design and internal arched stiffeners. This mold is made from durable ABS plastic and is produced with dimensions of 40×40 cm, a height of 4 cm, and a blade thickness of 6 mm. Using this stencil, you can easily pave areas such as villas, residential yards, parks, urban green spaces, gardens, and similar environments without requiring professional expertise.
One notable feature of this mold is its compatibility with colored cement mortars, allowing you to create beautiful and diverse designs for paving. The mold’s square design, along with its arched internal blades, ensures easy connection from any side, enabling the implementation of various paving patterns.
With an external dimension of 40×40 cm, this mold can be arranged in any direction to create a variety of designs. By combining these stencils, you can effortlessly design attractive and well-organized spaces.
Using the MOLD X120 concrete paving mold is the simplest and most cost-effective method for paving areas. Compared to traditional methods such as mosaic installation, concrete pouring, or using ready-made concrete tiles, this mold offers not only easier application but also superior aesthetic and quality results.
Features MOLD X120
Durable ABS Structure
This mold is made from durable and dense ABS polymer, offering high resistance to weather conditions and environmental factors.
Reusable Design
Thanks to its high durability and proper design, this mold can be reused multiple times with appropriate maintenance, making it a long-lasting tool for contractors.
Impact and Pressure Resistance
The MOLD X120 mold is highly resistant to applied pressure and impact, ensuring it does not crack or break.
Excellent Abrasion Resistance
The ABS polymer used in this mold prevents any damage or wear from contact with cement mortar and concrete.
Minimal Adhesion to Mortar
During mortar pouring or mold removal, the concrete does not stick to the mold’s surface, making the process much easier.
No Cracking or Chipping
This mold resists chipping or cracking during mortar pouring and removal processes.
Decorative Space Creation
The empty spaces between the paving cells can be filled with grass, plants, or gravel to enhance the aesthetics of the area.
Easy Cleaning
The mold can be easily cleaned with water and a brush, with no need for special acidic cleaners.
No Surface Preparation Required
Using this mold for paving does not require prior surface leveling or preparation, making the process faster and easier.
Variety in Design and Color
Cement mortars of different colors can be used in the mold’s cells, allowing for the creation of diverse and appealing paving designs.
Usable on Uneven and Sloped Surfaces
This mold can be effectively used on uneven or sloped surfaces without the need for preliminary preparation.
Compatibility with Other Molds
By using multiple mold designs simultaneously, you can create diverse and innovative geometric patterns for paving.
More products: garden pavement mold
How to use
To use the MOLD X120 mold for paving, attention to the physical conditions of the cement mortar is crucial. Below are the steps and important considerations for this process:
Cement Mortar Ratio
The cement ratio should not be less than 300 for pouring mortar into the mold. It is recommended to use a ratio of 350 for optimal final quality.
Slump and Workability of Concrete
The mortar or concrete used should have a slump between 4 and 6. Overly fluid concrete can increase mold removal time and cause excess water to be absorbed into the ground, which may reduce the final strength of the concrete.
Lubricating the Molds
Before starting, apply a suitable oil or diesel fuel to the molds to facilitate their removal after the concrete sets.
Mold Arrangement
Arrange the molds side by side based on the desired area and the number of molds available.
Saturating the Mold Base
Saturate the base of the molds with fresh water to prevent the ground from absorbing water from the mortar before the initial setting occurs.
Pouring Mortar into the Molds
Fill the mold cells with prepared mortar using a trowel, and smooth the surface. If using different colored mortars in various cells, use smaller trowels for greater precision to avoid mixing the colors.
Compacting the Mortar
After filling the molds, lightly tap the surface with the flat side of a trowel or your hand to vibrate the mortar and ensure better compaction.
Initial Setting Time
Allow the mortar to remain in the molds for 2 to 3 hours, depending on weather conditions, to achieve an adequate initial set. Removing the molds too early may deform the mortar, while delayed removal may make separating the molds more difficult.
Mold Removal
Remove the molds vertically and carefully to avoid damaging the edges or the created design.
Paving Curing
After removing the molds, keep the paved surface moist for at least three days by regular watering to ensure proper curing.
Using the Paved Surface
You can walk on the paved surface 24 to 48 hours after mold removal. After seven days, the surface will be ready to handle heavy loads, such as vehicle traffic.
Cleaning the Molds
Once the work is complete, wash the molds with water and a brush, dry them, and store them in a suitable place for future use.
Benefits of the MOLD X120 Paving Mold
These molds are designed for easy installation, allowing the creation of a variety of patterns.
Their lightweight construction makes them easy to transport and install.
Package
1 pcs in box

Reviews
There are no reviews yet.